Menu
Recent Post

I still cannot imagine why I kept the useless set of Measuring Spoons as long as I did?
I would have had them for close to 10 years and I rarely reached for them as they did not fit into most of the jars or packets that called for a spoon measurement.
They held no sentimental value and it wasn't an expensive set either.
I suppose I kept them as long as I did because I was happy to just guess measurements when the spoons didn't fit into my spice jars.

Do you find that you do the same thing....Just keep something on hand and use it occasionally even though it does not work or function as well as what it could.

The other utensils that stayed in my possession for years too long was a set of measuring cups. The measurements had worn off years ago and their was only left a bit of a colour on the handles that represented their sizes...I could no longer remember at a glance what colour was for what - so I would have to take them all out and look at them in the group to work out which was the third or the half cup size. Or I would just always grab the full cup size and guess a half or 3/4 measurement.
Again these cups had no sentimental value  and were not an expensive set.
I just put up with them even though they annoyed me every time I had to use them

It was actually a particular curry recipe that finally forced me to do something about my hopeless measuring spoons.
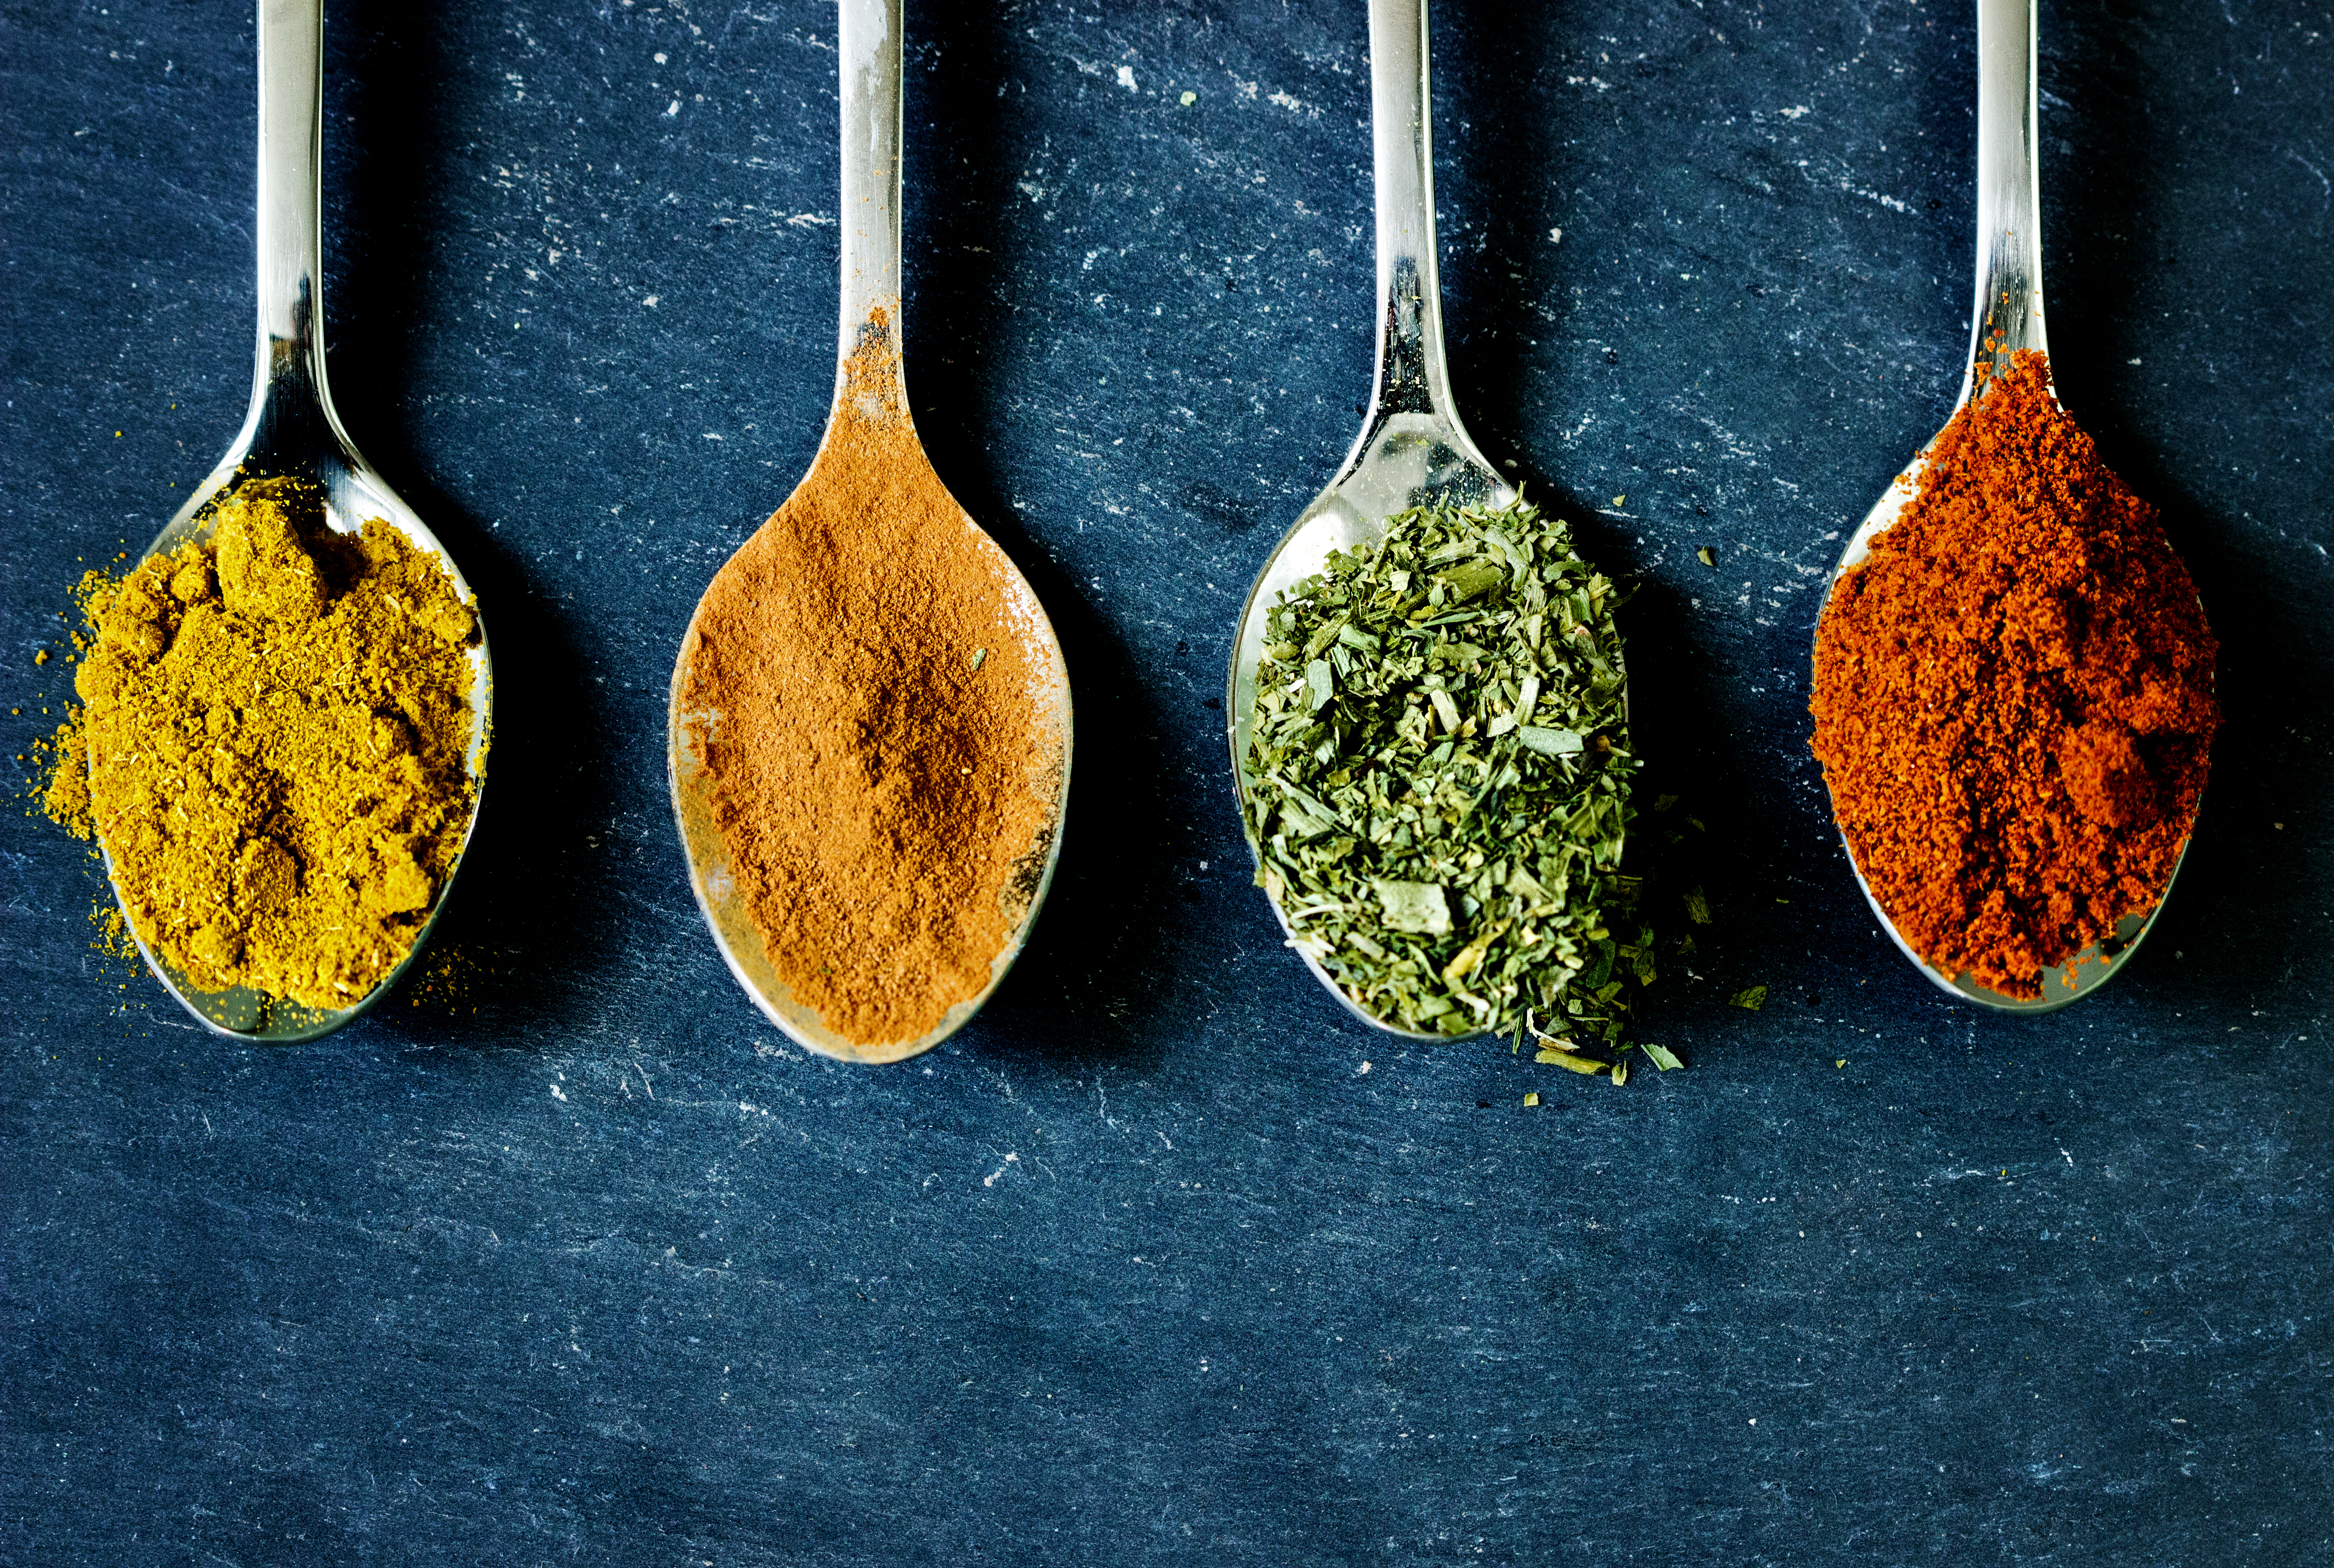
The recipe called for a lot of spices and they were all tablespoon and teaspoon measurements...and these stupid spoons could not fit into any spice jar so I had to guess the quantities and it was messy as I would use the tip of a knife to stick into a jar...I often lost a bit of the spices between the jar and the pot.
I was making this curry every couple of weeks as it became a firm favorite.
If you are after a great mild curry - Check out the recipe HERE 

Last year I was researching ideas for a new business venture for my husband and I. We had been working with health food for a little while and I was really curious to see if I could find some utensils that would suit our products.
I was thinking of mixing spoons and spatulas....But I saw an image on Pinterest of these marvelous rectangular measuring spoons and straight away I knew that these spoons would be a God send in every kitchen.....and that is how Cooking Gods came about...all because my spoons would not fit into my spice jars and I knew that many other people had the same problem.

So here is the before and after photos


I now have spoons that fit into all spice jars and even better they sit flat on a bench top so I can get ingredients measured and set out ready to go
I am also super happy that the cups are stainless steel.
The other set I had put up with were a faint apricot colour in a couple of sizes as they had been stained from measuring out tomato sauce ( I use it in a few marinade and sauce recipes) Plus I don;t know about you but I feel better knowing that I am using foodsafe utensils.
And I had recently thrown out some utensils that I had noticed were melted or had their colour flaking off as you don't want nasties in the food you are preparing for your family.
If you are wanting to change the way you measure your ingredients...This link will take you to the Cooking Gods Amazon store.
I know you will love them!!


Since realizing that I should have been using better measurement utensils a long time ago - I have become more ruthless. I took a pot to the charity store last week......Which was a big deal.
The pot worked fine and there was nothing wrong with it I had used it a lot in previous years.....But I recently changed cook tops and got an induction top.
This pot no longer could be used on the cook top...But I kept it because in the back of my mind I thought I "might need it" as a casserole pot in the oven.
Even though I had 3 other casserole pots that I preferred.

 Getting rid of that pot actually gave me valuable room in a kitchen draw.
It is a curious thing how we can hang onto items that no
longer serve us in the way that they did or that they could.


0


I use measuring cups and spoons a lot!
I like to follow recipes and most that I use are for home bakers and use cups and spoons for measurements.
I also like using them as I live in Australia and when I see a recipe from the USA that uses Imperial weights and measurements, I won't even bother converting them.
Cups and Spoon measurements they are going to be the same world wide ( Or very close to it)

From useless utensils

For years I had used a plastic cup set and a cheap metal spoon set.

The cup set had lost the markings on the handles and it was getting infuriating to work out which cup was which and I use to second guess myself when grabbing one and hoping I had remembered which colour related to which size.
My spoon set, and you can see from the photo, was also useless.

My favorite recipes usually call for a teaspoon or a tablespoon measurement of a spice......These spoons could not fit into any of my spice jars and each time I cooked a lot of my spice quantities were guesses and involved me trying to tip the spices onto the spoon which meant there was always spillage!

I will actually link the recipe that finally got me thinking about better measuring spoons!
It is a family favorite and a great tasting mild curry - It is also dairy and gluten free
The Curry Recipe that Inspired an Idea
I do enjoy cooking and using tools and utensils to make it easier and better is always a joyous thing!!


Not that long ago I was on Pinterest and I spied a set of measuring spoons that made my heart start racing....I saw spoons that I knew would actually fit into my spice jars.
At the same time my family had decided that E Commerce was going to be the main way that people shopped and Amazon was coming to Australia so we launched on Amazon USA and the rest of the world will follow! Checkout our store on Amazon USA
An idea was born and thus came about Cooking Gods and giving people better utensils in the kitchen..
And this is how our first products were launched!
To useful utensils
Now I have cups that will always have easy to read measurements and washing up is so much easier...No more food stains!

And check out that gorgeous teaspoon!....It fits into the narrowest of my spice jars and my Curry Recipe actually has improved in taste as my measurements are accurate every time.
If you are after a set - GRAB THEM HERE
I will be going through the rest of my kitchen utensils and working out what I love and what I don't love about what I use and more and more will be added to our online stores.


0

I will have to thank my mum for this recipe!
She is part of a CWA (Country Women's Association) and one of the ladies bought this along to morning tea.
I had seen something similar in the health food aisle of the shops and I balked at the price they wanted for these "Seed Crackers"

When I saw how easy these were to make and that I had all the ingredients except the pumpkin and sunflower seeds on hand...I knew that I could make these on a regular basis.
The recipe I sourced was on Diet Doctors 

It was also a chance for me to use my new cups and spoons...Don't they look great!
If you are after an amazing set - Checkout our Amazon store and pick up a set for yourself

Measuring cups

Measuring spoons

 Ingredients

servings 30
  • 13 cup almond meal/flour
  • 13 cup sunflower seeds
  • 13 cup pumpkin seeds
  • 13 cup flaxseed or chia seeds
  • 13 cup sesame seeds
  • 1 tablespoon ground psyllium husks ( I used a breakfast fibre cleanse mix)
  • 1 teaspoon salt
  • 4 tablespoons melted coconut oil
  • 1 cup boiling water

Instructions

  1. Preheat the oven to 300°F (150°C). Mix all dry ingredients in a bowl. Add boiling water and oil. Mix together with a wooden fork.
  2. Spread out the dough thinly on a baking tray lined with parchment paper. The tray I used was 14 x 10 "I also lightly scored the mix in the tray before baking so they broke into uniform pieces.
  3. Bake on lower rack for about 45 minutes, check occasionally. Let dry for another 15 minutes, but pay attention as seeds are heat sensitive. Make sure it is completely dried out so they stay crunchy.
  4. Turn off the oven and let the dry in the oven. Break into pieces and enjoy with dips or cheese
Measuring cups and spoons


0

The word "Chili" either elicits excitement or fear when we see it on a menu!


If you’ve ever eaten a chili pepper, you may have noticed that the second bite is hotter than the first. Some people believe it’s because the seeds are the hottest part, but it’s actually the membrane near them that will set your mouth on fire.

But let's get back to Chili's

Despite the huge range of species, only five are domesticated: C. annuum, C. baccatum, C. chinense, C. frutescens, and C. pubescens. Capsicum annuum is the most common of the group; it includes a plethora of cultivars both mild and hot, including bell peppers and jalapeños. The majority of peppers that you can think of all come from this one species. 
And they all range in the heat they deliver!
From Capsicums or Bell Peppers ( these guys have no heat as they do not contain capsaicin)
Then there are the more recognised ones like Jalapenos and Birds Eye chili's and these guys do pack a bit of a punch and are the main ones found in Mexican food or Asian food..Aand then we come to ones that sound innocent enough like a Scotch Bonnet which will pack a punch!!
At least the chili's that have been deemed to be the hottest on record have names that indicate DANGER the top 3 hottest chili's as decided by the Guinness book of records are:
"Carolina Reaper" , "Trinidad Moruga Scorpion" and "Trinidad Douglah"

Apart from eating chili's fresh you can also add them to your cooking in the way of sauces or known as Hot Sauce
We all have heard of Tabasco sauce or even Asian Sweet Chili style sauces and they are an easy way to add flavour.
There are sauces available now that have way more heat and the market is growing and growing with great recipes and some super clever marketing with the brands out there!
"Blairs Ultra Death Sauce" sounds pretty appetizing!!

The other way to get some more heat in your cooking is with powdered or dried chili and this is usually known as Cayenne Pepper and it is easy to sprinkle a little over your food.
If heat is a problem ( like it is for me) Do not be deceived by this innocent looking powder - it does pack a huge punch, so if you are heat sensitive and you are using Cayenne Pepper...You need very little and I will always measure it and our 1/8th of a Teaspoon measuring spoon comes in super handy.
0

 
Milk alternatives are being demanded by consumers and slowly but surely more and more options are filling up our supermarket shelves.
But have you ever wondered exactly what you are getting for your money.
Many of them do not actually have a high quantity of nuts in the actual milk and others add sweeteners and flavors to them.
Why not try making your own?
 
Ingredients:
  • 1 cup raw, unsalted nuts (almonds, hazelnuts, Brazil nuts, pecans, macadamia, walnuts)
  • 2-3 cups water for soaking the nuts
  • 4 cups water for blending


Instructions:

  1. Soak the nuts in 2-3 cups water overnight.
  2. Drain and discard water.
  3. Blend in a processor/blender nuts with 4 cups water until almost smooth.
  4. Strain the blended nut mixture using muslin or a nut milk bag. A tight-weave cloth is preferable, as twisting the top tightly enables you to continue squeezing out more milk.
  5. Refrigerate. The milk will keep in the refrigerator for 3-4 days.


Note that cashew milk is made slightly differently
 
Ingredients:
  • 1 cup raw, unsalted cashews
  • 2-3 cups water for soaking the cashews
  • 4 cups water for blending
Instructions:
  1. Soak the cashews in 2-3 cups water for 3 hours.
  2. Drain and discard water.
  3. Blend nuts with 4 cups water until almost smooth.
  4. Strain the blended mixture using muslin or a nut milk bag. A tight-weave cloth is preferable, as twisting the top tightly enables you to continue squeezing out more milk.
  5. Refrigerate. The milk will keep in the refrigerator for 3-4 days.

Making your own can be cost effective and also ensures you can choose your own ingredients and freshness

I will be adding recipes that do use milk alternatives.....They often give a great subtle flavour or flavour boost to what you are making as well.


0

Most cakes or loaves that I make, always have an egg or two.
So when I went to make banana bread with the ripe bananas in my fruit bowl .....I panicked when I saw I was out of eggs.
A little bit of a Google and I found a recipe that looked easy and was actually one of the nicest banana breads I have tried - I will definitely be making this one again!


I also got to use the Cooking Gods Measuring cups and spoons that have launched onto Amazon!


One of the best things about finding a recipe that is this easy to make is that I will get my kids to bake this the next time they ask.
  • No messy egg cracking and fishing out the egg shell fragments
  • No mixer to set up and then pack away
  • No needing to ice or frost the cake
  • And it is great to pop into a lunch box for them as well


This is the recipe ( Which I found on Taste.com.au)

INGREDIENTS


    • 2 and a 1/2 cups all purpose flour 
    • 1 Tsp salt
    • 1TBS baking powder
    • 1 cup desiccated coconut
    • 1 1/4 cups brown sugar ( I used only 1 cup)
    • 1/2 teaspoon bicarbonate of soda
    • 1 cup mashed banana
    • 1/2 cup vegetable oil
    • 1/2 cup buttermilk ( I made my own by using 1/2 cup milk and 1/2 TBSP lime juice)
    • Butter, softened, to serve
    • Honey, to serve


METHOD

  • Step 1
    Preheat oven to 180°C  (350 F). Grease and line the base and sides of a 11 x 21cm ( 4 x 8 inch) loaf pan with baking paper, allowing the sides to overhang.
  • Step 2
    Place the flour, coconut, sugar and bicarbonate of soda in a large bowl and stir to combine. Make a well in the centre.
  • Step 3
    Whisk the banana, oil and buttermilk together in a jug. Pour into the well. Use a wooden spoon to gently stir until just combined (do not overmix). Spoon into the prepared pan and smooth the surface.
  • Step 4
    Bake in preheated oven for 1 hour or until a skewer inserted in the centre comes out clean. Remove from oven and set aside for 5 minutes before transferring to a wire rack to cool.


0


A few years ago I was part of a community group and it was there that I met Shane.
We hit it off straight away - We both had some crazy stories from our youth and we both loved a laugh. Shane got to know my husband and kids and it was a great friendship.
At the community group, Shane was known best for his curry!
Once a month he would cook a batch and bring it along after our monthly meeting.
I was pretty quick to ask him for the recipe and he was glad to share it as it had been shared with him many years ago.
He lived in London in the early 2000's and shared a house with a crazy pub cook who could cook a mean curry!
In Britain a pub curry is a almost as famous as Bangers and Mash.

This curry tasted great....BUT there was thing that bugged me.
Almost every ingredient was a spice and all in increments of teaspoons or tablespoons.....Now How many times have you tried to get a measuring spoon into a narrow spice jar?? Yep it is impossible and you either try and tip a spice into the spoon and spill most of it on the bench or you just guess at the measurements.
So this damn curry got me looking for another way to get my spice measurements on a spoon...And I found a set of measuring spoons that fit into a narrow spice jar....And that is how Cooking Gods came about.
And this is a link to get yourself a set of Measuring Cups and Spoons that will change your cooking!


Now for Shane's Chicken Curry Recipe


1kg (2 Lbs) Chicken thigh pieces
2 onions diced
1/2 Tin of diced tomatoes ( a tin is 400g or 14oz)
1/2 TBSP Minced Ginger
1/2 TBSP Minced Garlic
1 TBSP Ground Coriander ( Cilentro)
1/2 TBSP Garam Masala
1/2 TBSP Tumeric
4 Cloves (or 1/2 TSP Ground Cloves)
1/2 TSP Cinnamon
1 TBSP Salt (Don't skimp on the salt...without it the recipe does not work taste wise)

1/2 TBSP little oil or butter till golden in deep frypan or pot
Add ginger and garlic and sauté with the onions
Add tomatoes
Add all the spices and salt
Make into a paste and then add the diced chicken ( Now it looks pretty dry but worry)
Put a lid on the pan or pot and simmer on a very low heat for an hour.
I sometime put it into the oven on a very low heat for 1 to 2 hours
Serve with Rice
* I often double this recipe so I can use I tin of tomatoes instead of half a tin.

0

Author

author Hello to all and thank you for visiting our page! I have always enjoyed cooking for my family and special occasions...
Learn More →


Contact Form

Name

Email *

Message *